Please note that the API:s referred in this article are legacy. For a more modern code sample check this code at GitHub, https://github.com/EricHerlitz/Swedish-BankID-.NET-Core.
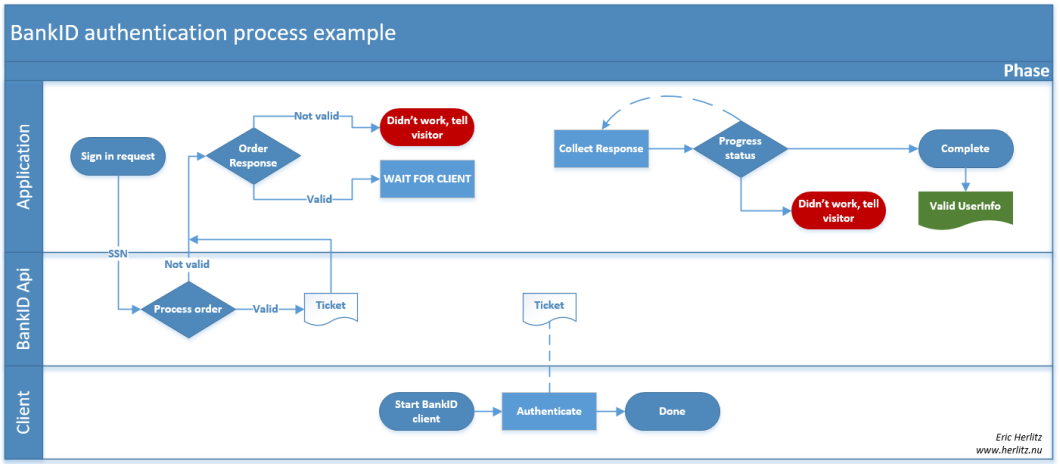
I had an assignment to write an integration with the Swedish BankID authentication system (www.bankid.com). It is a pretty straight forward process and with some guidance from the documentation it was fairly easy.
This introduction will help you to understand the basic concepts of working with the BankID web service api’s and how to work with the BankID test environment.
Resources
- The latest guidelines from BankID https://www.bankid.com/bankid-i-dina-tjanster/rp-info
- Certificates and guidelines, https://www.bankid.com/bankid-i-dina-tjanster/rp-info
- Github project with all code from this post https://github.com/EricHerlitz/Mobile-BankId-.NET-Example
Securing the communication
Working with the BankID service requires two certificates
- Client, https://www.bankid.com/assets/bankid/rp/FPTestcert2_20150818_102329.pfx
- Server, check the ‘Test Environment’-section in https://www.bankid.com/bankid-i-dina-tjanster/rp-info
Below you will find both the GUI way and the PowerShell way to install the certificates.
Prepare the certificates
Server certificate
The server certificate is the BankID SSL Root Certification Authority, this certificate will allow you to securely talk to the BankID Web Service API and will ensure the traffic is encrypted. When working in a production environment you’ll need the ‘Production Environment’ version of this certificate that is available on the same page.
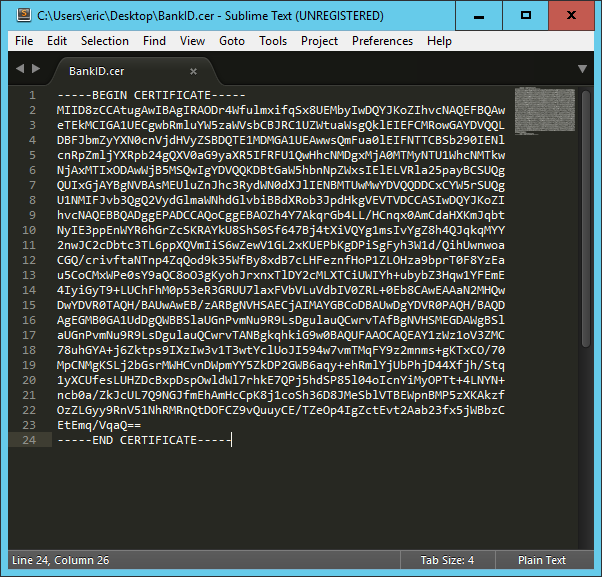
Navigate to https://www.bankid.com/bankid-i-dina-tjanster/rp-info/guidelines and copy the certificate, it shoud look something like this
-----BEGIN CERTIFICATE-----
MIID8zCCAtugAwIBAgIRAODr4WfulmxifqSx8UEMbyIwDQYJKoZIhvcNAQEFBQAw
eTEkMCIGA1UECgwbRmluYW5zaWVsbCBJRC1UZWtuaWsgQklEIEFCMRowGAYDVQQL
…
-----END CERTIFICATE-----
Put the contents in a text file and rename it to BankID.cer and save it
Client certificate
This is the “Fake” Bank certificate, it identifies as “Testbank A RP CA v1 for BankID Test” and will allow your client to talk to the Web Service API.
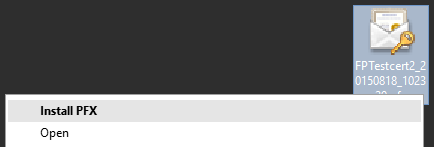
Download the FPTestcert2_20150818_102329.pfx (this may change over time) file from https://www.bankid.com/bankid-i-dina-tjanster/rp-info and install it, this certificate must be installed to allow our clients to communicate with the Web Service API.
Implementing the certificates using PowerShell
There are multiple ways to implement certificates. I'll post the PowerShell snippets below, in case you need detailed explanations of what they do check the GUI version which describe the process step by step
Implementing the server certificate (bankid.cer)
Import-Certificate -FilePath C:\Cert\bankid.cer -CertStoreLocation Cert:\LocalMachine\Root
Implementing the client certificate (pfx) to the Current User
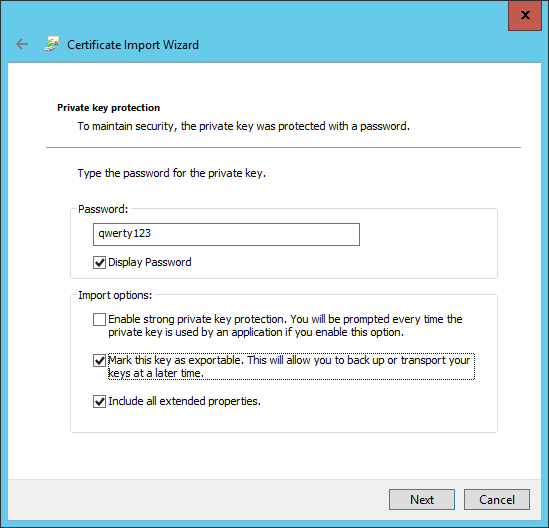
$pwd = ConvertTo-SecureString -String "qwerty123" -Force -AsPlainText
Import-PfxCertificate -FilePath C:\Cert\FPTestcert2_20150818_102329.pfx -CertStoreLocation Cert:\CurrentUser\My -Exportable -Password $pwd
Implementing the client certificate (pfx) to Local Computer (optional)
$pwd = ConvertTo-SecureString -String "qwerty123" -Force -AsPlainText
Import-PfxCertificate -FilePath C:\Cert\FPTestcert2_20150818_102329.pfx -CertStoreLocation Cert:\LocalMachine\My -Exportable -Password $pwd
Implementing certificates using a GUI
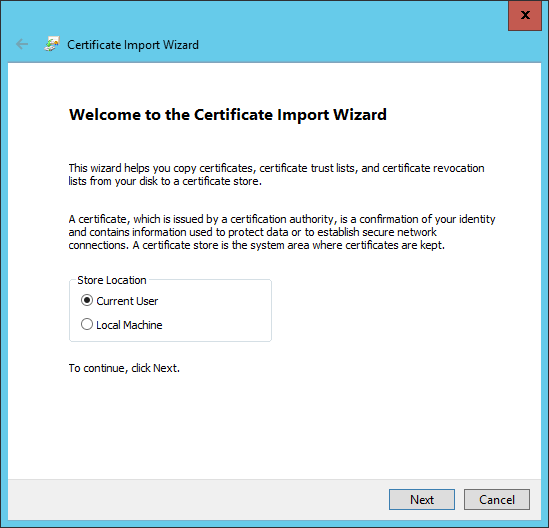
Implementing the client certificate (pfx) to the Current User
Microsoft ships a management console for managing certificates as a part of MMC.
Start mmc.exe and add the certificate snap-in, you’ll need to add it twice. Once for the “My user” account and once for the “Computer account”.


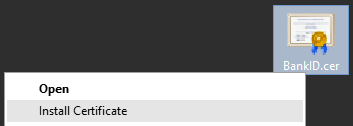
Implementing the server certificate (bankid.cer)
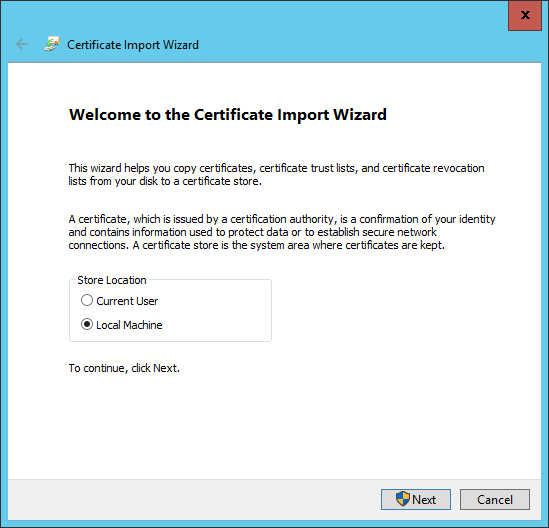
Right click the file and select Install Certificate, follow the guide below.


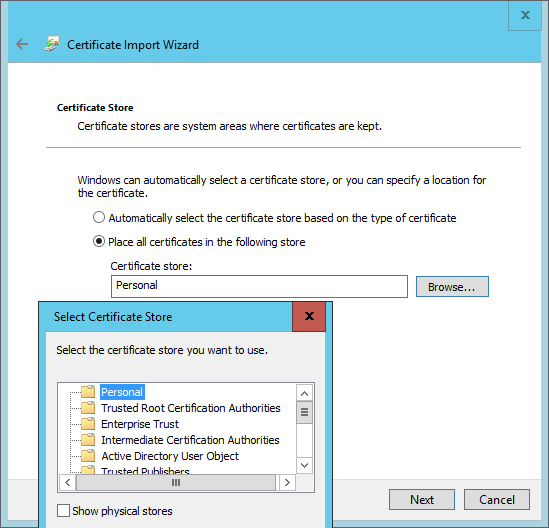
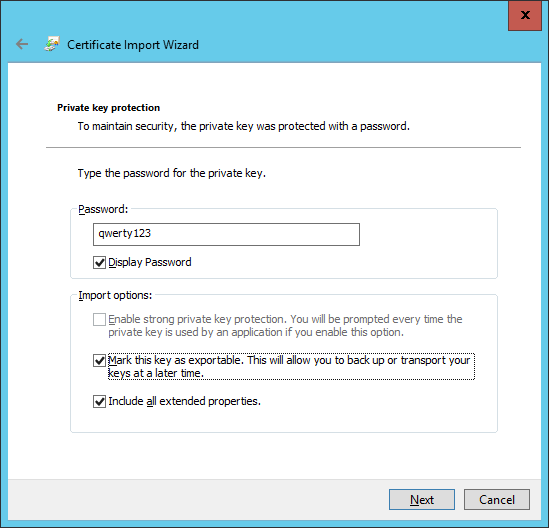
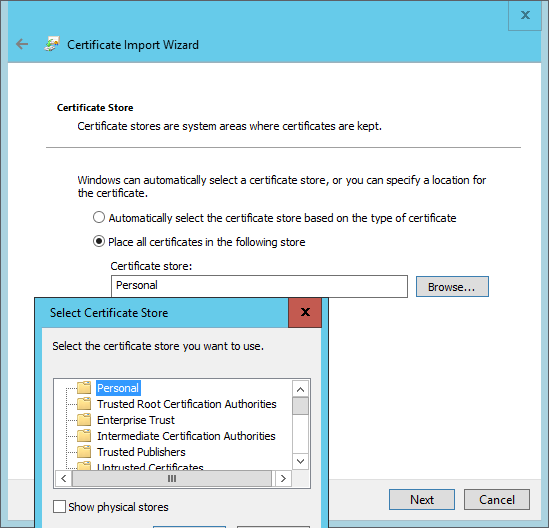
Implementing the client certificate (pfx)
Implement to Current User
Verify the certificate

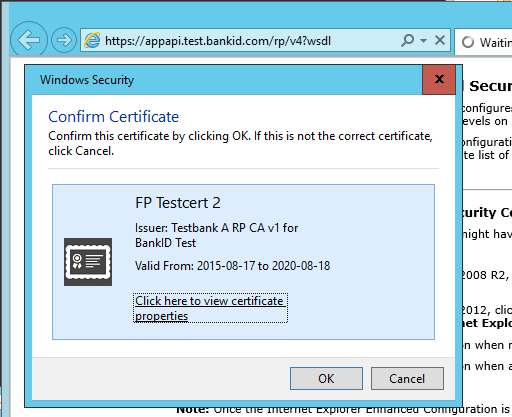

If you are able to view the following screen everything is in order.
https://appapi.test.bankid.com/rp/v4?wsdl
Implement to Local Computer (maybe)
If you plan on running the code as an IIS AppPool or similar, you’ll need to put the certificate in the LocalComputer\My store. In a production environment this is normally the only place you want to implement the client certificate.


Configure a mobile phone BankID for test
Documentation: https://www.bankid.com/assets/bankid/rp/how-to-get-bankid-for-test-v1.5.pdf (urls may change over time)
Navigate to https://demo.bankid.com/
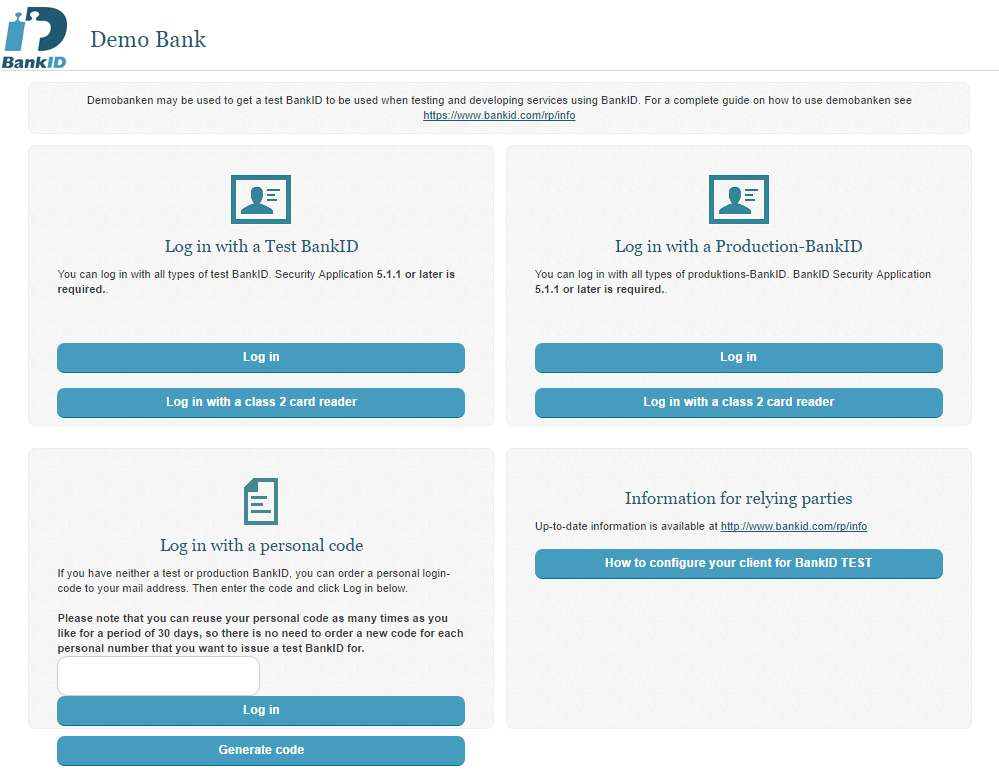
Click the “How to configure your client for BankID TEST” and follow the instructions
Begin the development
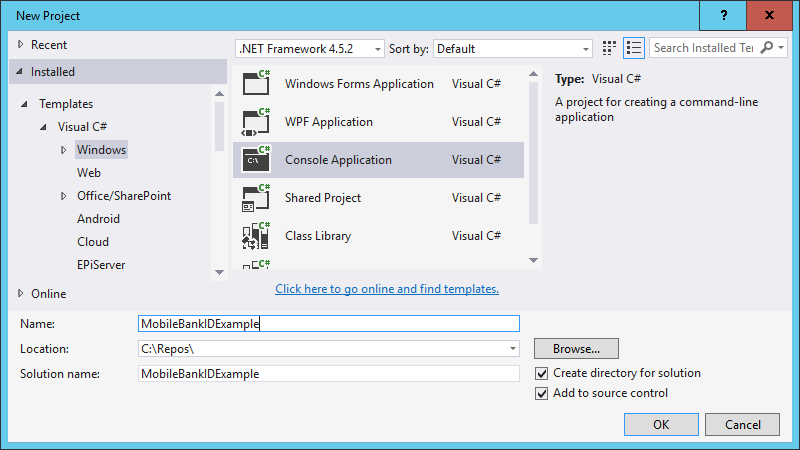
Fire up Visual Studio and create a project of your preference. I will create a console application since it is fast and easy to understand.
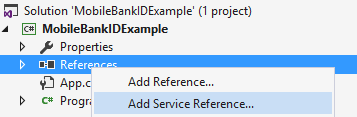
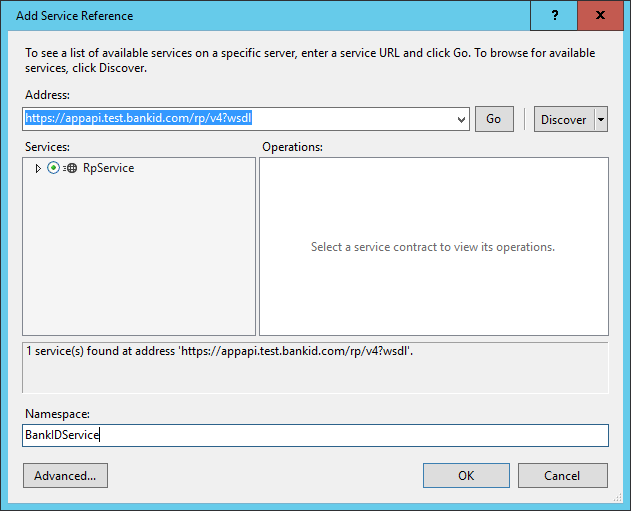
Connecting to the Web Service API
Add the Web Service WSDL API as a service reference, enter the address https://appapi.test.bankid.com/rp/v4?wsdl and give it a Namespace.
This will add a new section to the web.config/app.config file of your project called <system.serviceModel>, the default version of this won’t be any good so we’ll need to modify that to fit our purposes
The original
<system.serviceModel>
    <bindings>
        <customBinding>
            <binding name="RpServiceSoapBinding">
                <textMessageEncoding messageVersion="Soap11" />
                <httpsTransport />
            </binding>
        </customBinding>
    </bindings>
    <client>
        <endpoint address="https://appapi.test.bankid.com/rp/v4"
                  binding="customBinding"
                  bindingConfiguration="RpServiceSoapBinding"
                  contract="BankIDService.RpServicePortType"
                  name="RpServiceSoapPort" />
    </client>
</system.serviceModel>
Begin by modifying the httpsTransport element, we need to tell it that a client certificate is required.
<httpsTransport requireClientCertificate="true" />
Next is to add a behaviorConfiguration reference to the endpoint element, I’ll call mine “bankid”
<endpoint address="https://appapi.test.bankid.com/rp/v4"
          binding="customBinding"
          bindingConfiguration="RpServiceSoapBinding"
          contract="BankIDService.RpServicePortType"
          name="RpServiceSoapPort"
          behaviorConfiguration="bankid" />
Then we must also add the behavior in the system.serviceModel section, this will look like this
<behaviors>
  <endpointBehaviors>
    <behavior name="bankid">
      <clientCredentials>
        <clientCertificate findValue="FP Testcert 2"
                           x509FindType="FindBySubjectName"
                           storeLocation="CurrentUser"
                           storeName="My" />
        <serviceCertificate>
          <defaultCertificate findValue="BankID SSL Root Certification Authority TEST"
                              storeLocation="LocalMachine"
                              storeName="Root"
                              x509FindType="FindBySubjectName"/>
          <authentication certificateValidationMode="None"
                          revocationMode="NoCheck"
                          trustedStoreLocation="LocalMachine"/>
        </serviceCertificate>

      </clientCredentials>
    </behavior>
  </endpointBehaviors>
</behaviors>
There you will see both certificates that we’ve added and their storeLocations. If you imported them to any other store this is where you tell your application where they are.
Testing some code
Create a client
var client = new RpServicePortTypeClient();
Set the parameters for the authentication
AuthenticateRequestType authenticateRequestType = new AuthenticateRequestType()
{
    personalNumber = "YYYYMMDDNNNN",
    //requirementAlternatives = new[] { conditions }
};
Authenticate
OrderResponseType response = client.Authenticate(authenticateRequestType);
...Wait for the client to sign in
Collect the response
CollectResponseType result = client.Collect(response.orderRef);


All code is available at https://github.com/EricHerlitz/Mobile-BankId-.NET-Example