CLI tools are getting more and more popular once again. In this short blog post, I'll guide you on how to set up a new Optimizely CMS database and add an admin user to the database.
If you are looking for a beginners guide on how to set up the dotnet CLI tools from start check this post Optimizely CMS 12 CLI tools, getting started.
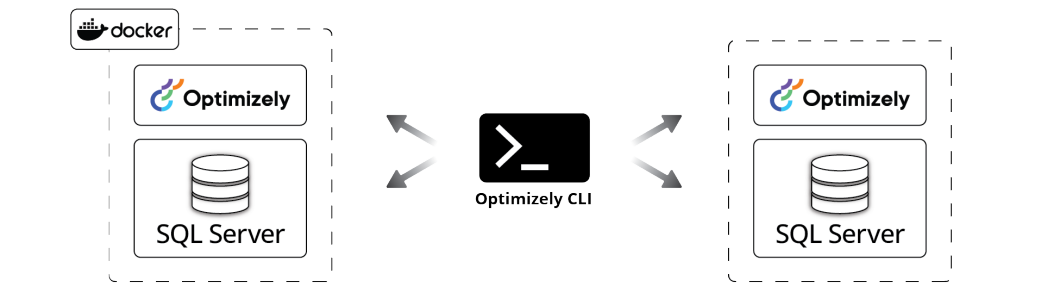
Using the dotnet-episerver CLI
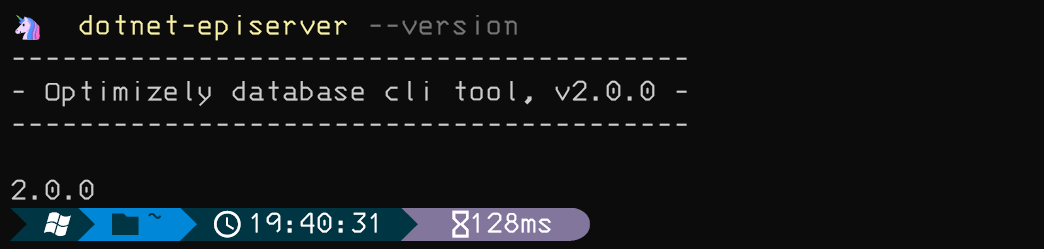
As always when using the CLI, start with checking for updates
dotnet tool update EPiServer.Net.Cli --global --add-source https://nuget.optimizely.com/feed/packages.svc/
When writing this blog post version 2.0.0 was the actual version.
The create-cms-database CLI command
dotnet-episerver create-cms-database [options] <project>
Options
// The server to create the cms database. -S, --server(REQUIRED) // Use windows authentication when connecting to server to create database. -E, --integrated-security // The username when connecting to the server to create the database. -U, --username // The password when connecting to the server to create the database. -P, --password // The name of the database to create [default: EPiServerDB_XYZ] -dn, --database-name // The database user used for connectionstring. [default: EPiServerDB_XYZ] -du, --database-user // The database password used for connectionstring. [default: XYZ] -dp, --database-password // The sql server collation [default: SQL_Latin1_General_CP1_CI_AS] -C, --collation // Enable verbose diagnostics -v, --verbose // Show help and usage information -?, -h, --help
Usage example
This example is a multiline PowerShell example
dotnet-episerver create-cms-database `
	-S localhost `
	-U sa `
	-P mypass@word1 `
	-dn EpiserverDB_exampleproject `
	-du EpiserverDB_exampleUser `
	-dp averystrongdatabasepassword `
	exampleproject.csproj
The same command for cmd or one-line usage
dotnet-episerver create-cms-database -S localhost -U sa -P mypass@word1 -dn EpiserverDB_exampleproject -du EpiserverDB_exampleUser -dp averystrongdatabasepassword exampleproject.csproj
The dotnet-episerver add-admin-user CLI command
dotnet-episerver add-admin-user [options] <project>
Options
// The username to create for the account. -u, --username(REQUIRED) // The email to create for the account. -e, --email (REQUIRED) // The password to create for the account. -p, --password (REQUIRED) // The connection string name with the indentity core schema. -c, --connectionStringName (REQUIRED) // Enable verbose diagnostics -v, --verbose // Show help and usage information -?, -h, --help
Usage example
And create an admin user using PowerShell
dotnet-episerver add-admin-user `
	-u admin `
	-e admin@example.com `
	-p adminpassword `
	-c EPiServerDB `
	exampleproject.csproj
Or as a one-line command
dotnet-episerver add-admin-user -u admin -e admin@example.com -p adminpassword -c EPiServerDB exampleproject.csproj
Thats it. Enjoy!